How to Create a Shopify Account in 2026: Step-by-Step Beginner’s Guide to Start Your Online Store
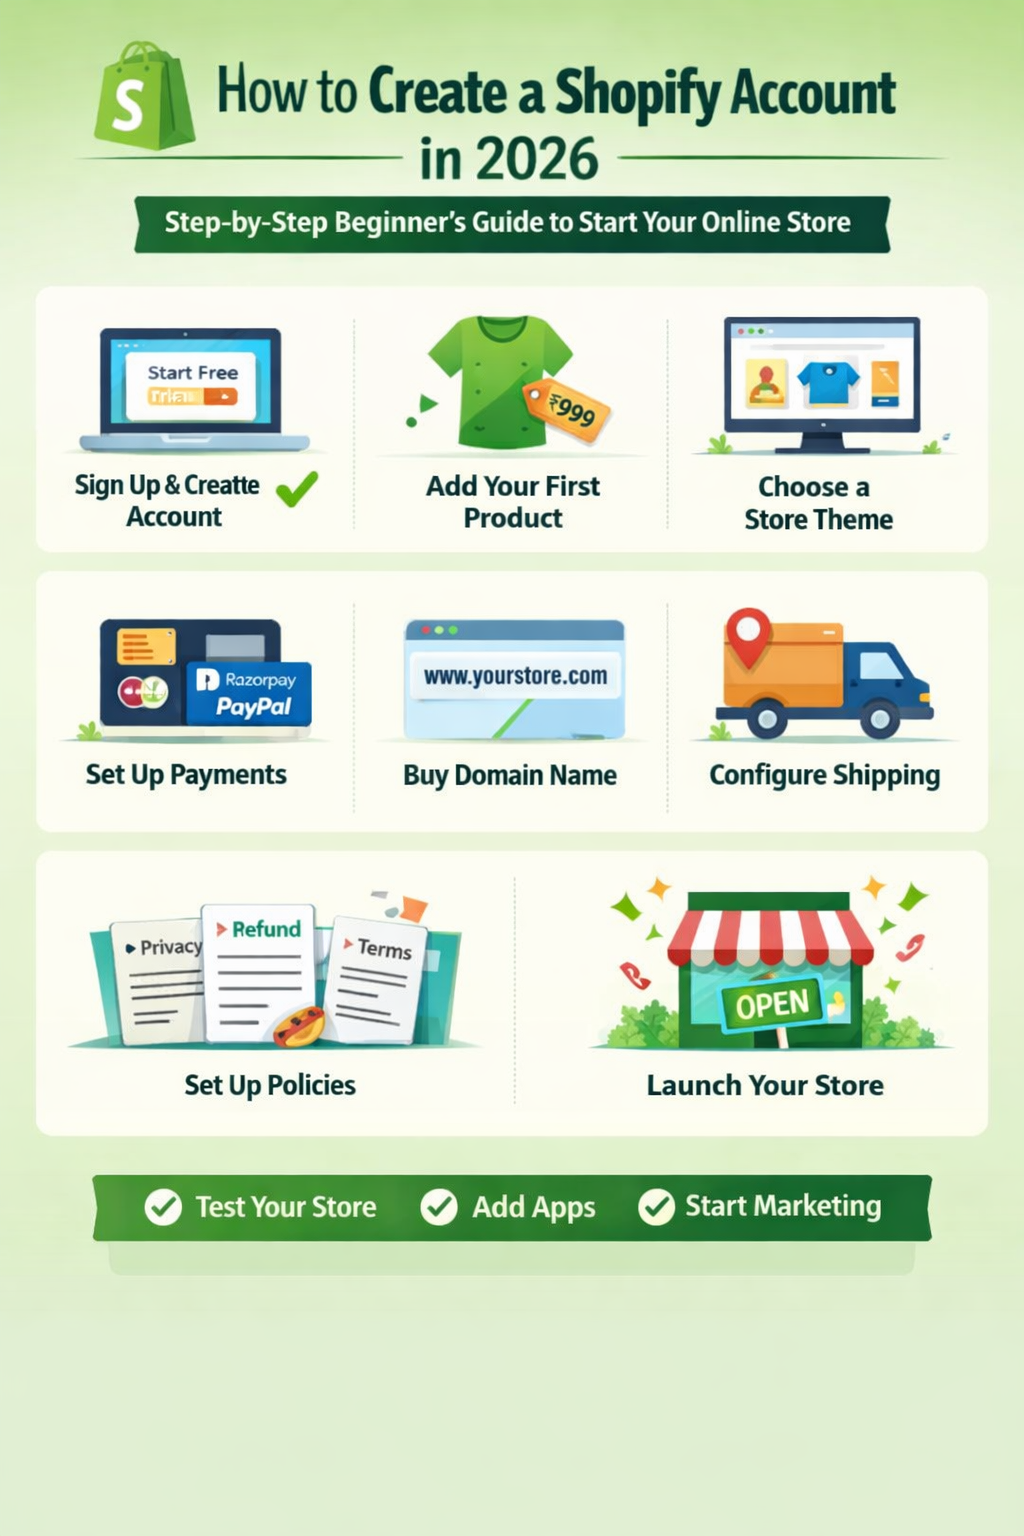
Follow this simple step-by-step guide to create your Shopify account and launch your online store successfully in 2026.
How to Create a Shopify Account
Starting an online business in 2026 is easier than ever, and one of the most popular platforms to build an online store is Shopify. Whether you want to sell physical products, digital downloads, dropshipping items, or handmade goods, Shopify allows beginners to launch a professional store without coding knowledge.
This detailed guide will walk you through how to create a Shopify account, set up your store properly, configure payments, choose a domain, and prepare for launch — all explained in simple language.
Why Choose Shopify in 2026?
Before creating an account, it’s important to understand why Shopify is one of the best platforms for beginners and growing brands.
- Beginner-friendly dashboard
- No technical skills required
- Secure hosting included
- Multiple payment gateway options
- Professional themes
- App ecosystem for automation
- Mobile-friendly store design
Shopify handles the technical part so you can focus on products and marketing.
Things You Need Before Creating a Shopify Account
Preparation makes the process smooth. Keep these ready:
- A valid email address
- Business name idea
- Basic product idea
- Phone number
- Payment details (for subscription after trial)
- Bank account for receiving payments
You don’t need GST or business registration immediately to create an account. You can set those up later.
Step 1: Visit the Shopify Website
Go to the official Shopify website.
On the homepage, you’ll see a button like:
“Start Free Trial” or “Start Free”
Click on it.
Shopify usually offers a free trial period so you can build your store before paying.
Step 2: Enter Your Email Address
You’ll be asked to enter:
- Email address
- Password
- Store name
Choose a strong password.
Your store name can be changed later, so don’t worry if you’re unsure.
After entering details, click “Create Your Store.”
Step 3: Answer Setup Questions
Shopify may ask a few questions such as:
- Are you already selling?
- What will you sell?
- Where are you located?
These questions help customize your dashboard. You can skip them if needed.
Step 4: Access Your Shopify Dashboard
Once registered, you’ll enter the Shopify admin panel.
This is your control center.
From here you can:
- Add products
- Customize themes
- Set payments
- Manage orders
- Install apps
- Check analytics
Take a few minutes to explore the menu on the left side.
Step 5: Choose a Shopify Plan
After the free trial ends, you must choose a plan.
Common plans include:
- Basic
- Shopify
- Advanced
For beginners, the Basic plan is usually enough.
Choose based on:
- Your budget
- Expected sales volume
- Required features
You can upgrade anytime later.
Step 6: Add Your First Product
Go to:
Products → Add Product
Fill in:
- Product title
- Description
- Images
- Price
- Compare price (optional for discounts)
- Inventory quantity
Write clear descriptions. Mention size, material, usage, and benefits.
Upload high-quality images. Good images increase sales.
Click “Save.”
Step 7: Choose and Customize a Theme
Your theme controls how your store looks.
Go to:
Online Store → Themes
Shopify provides free themes. You can also buy premium ones.
Click “Customize” to edit:
- Logo
- Colors
- Fonts
- Homepage banner
- Product layout
Make your store clean and simple. Avoid too many colors.
Professional design builds trust.
Step 8: Set Up Payment Methods
Go to:
Settings → Payments
Enable payment options such as:
- Shopify Payments (if available in your country)
- Razorpay
- Stripe
- PayPal
- Manual payment methods
Enter bank details carefully.
Test payments before launching.
Step 9: Configure Shipping Settings
Go to:
Settings → Shipping and Delivery
Set:
- Shipping rates
- Free shipping (optional)
- International shipping (if required)
You can choose:
- Flat rate
- Weight-based rate
- Free shipping above certain amount
Clear shipping rules prevent customer confusion.
Step 10: Set Up Taxes (If Applicable)
Go to:
Settings → Taxes and Duties
If you have GST or VAT, enter your registration details.
If you are just starting and not registered, consult a tax professional before selling at scale.
Proper tax setup avoids future penalties.
Step 11: Buy or Connect a Domain
By default, Shopify gives a temporary domain like:
yourstorename.myshopify.com
For professionalism, buy a custom domain.
Go to:
Settings → Domains
Options:
- Buy domain directly from Shopify
- Connect domain from GoDaddy or other provider
Example:
Custom domain increases trust and branding.
Step 12: Install Important Apps
Shopify App Store provides tools for:
- Email marketing
- WhatsApp chat
- Reviews
- Upsells
- SEO
- Dropshipping
Install only necessary apps. Too many apps slow your store.
Start simple. How to Create a Shopify Account
Step 13: Set Up Legal Pages
Every online store must have:
- Privacy Policy
- Refund Policy
- Terms of Service
- Shipping Policy
Go to:
Settings → Policies
Shopify provides templates you can edit.
Legal pages build credibility and protect you. How to Create a Shopify Account
Step 14: Test Your Store
Before launching:
- Place a test order
- Check checkout process
- Test payment gateway
- Test email notifications
- Check mobile view
Fix any errors before going live. How to Create a Shopify Account
E-commerce Loss 2026
E-commerce is growing rapidly in 2026. More sellers are joining marketplaces like Amazon, Flipkart, Meesho, and building independent stores using Shopify. On social media, online business looks glamorous — screenshots of high sales, viral products, success stories everywhere.
Step 15: Launch Your Store
Remove password protection:
Online Store → Preferences
Disable password.
Now your store is live.
Congratulations — you have created your Shopify account and launched your online store. How to Create a Shopify Account
Common Mistakes Beginners Make
Many new sellers create accounts but fail due to:
- Poor product selection
- Weak branding
- No marketing strategy
- Ignoring customer service
- Pricing without calculating profit
Creating an account is easy. Running a profitable store requires planning. How to Create a Shopify Account
How Much Does Shopify Cost in 2026?
Costs include:
- Monthly subscription
- Transaction fees
- App charges
- Domain cost
- Marketing expenses
Plan your budget before scaling. How to Create a Shopify Account
Tips for Success After Creating Your Shopify Account
Focus on one niche.
Test products before bulk investment.
Run ads with proper targeting.
Build email list from day one.
Provide fast customer support.
Track analytics weekly.
Consistency matters more than shortcuts.
Can You Create a Shopify Account Without Business Registration?
Yes.
You can start as an individual.
However, once revenue increases, consider registering your business for tax compliance and credibility. How to Create a Shopify Account
Is Shopify Good for Beginners?
Yes.
It is designed for non-technical users.
Drag-and-drop customization
Secure hosting
24/7 support
Scalable features
That’s why millions of sellers prefer Shopify. How to Create a Shopify Account
Final Thoughts
Learning how to create a Shopify account is the first step toward building your online business.
The real success depends on:
- Smart product research
- Proper pricing strategy
- Strong branding
- Marketing execution
- Customer experience
If you follow the step-by-step process explained above, you can launch your store confidently in 2026.
Starting is simple. Staying consistent is the key. How to Create a Shopify Account